Planning a Sunrise Photo Shoot: The Complete Checklist
Sunrise shoots reward people who plan. This checklist covers the night before, the drive out and the first light, so you are set up when the color starts.
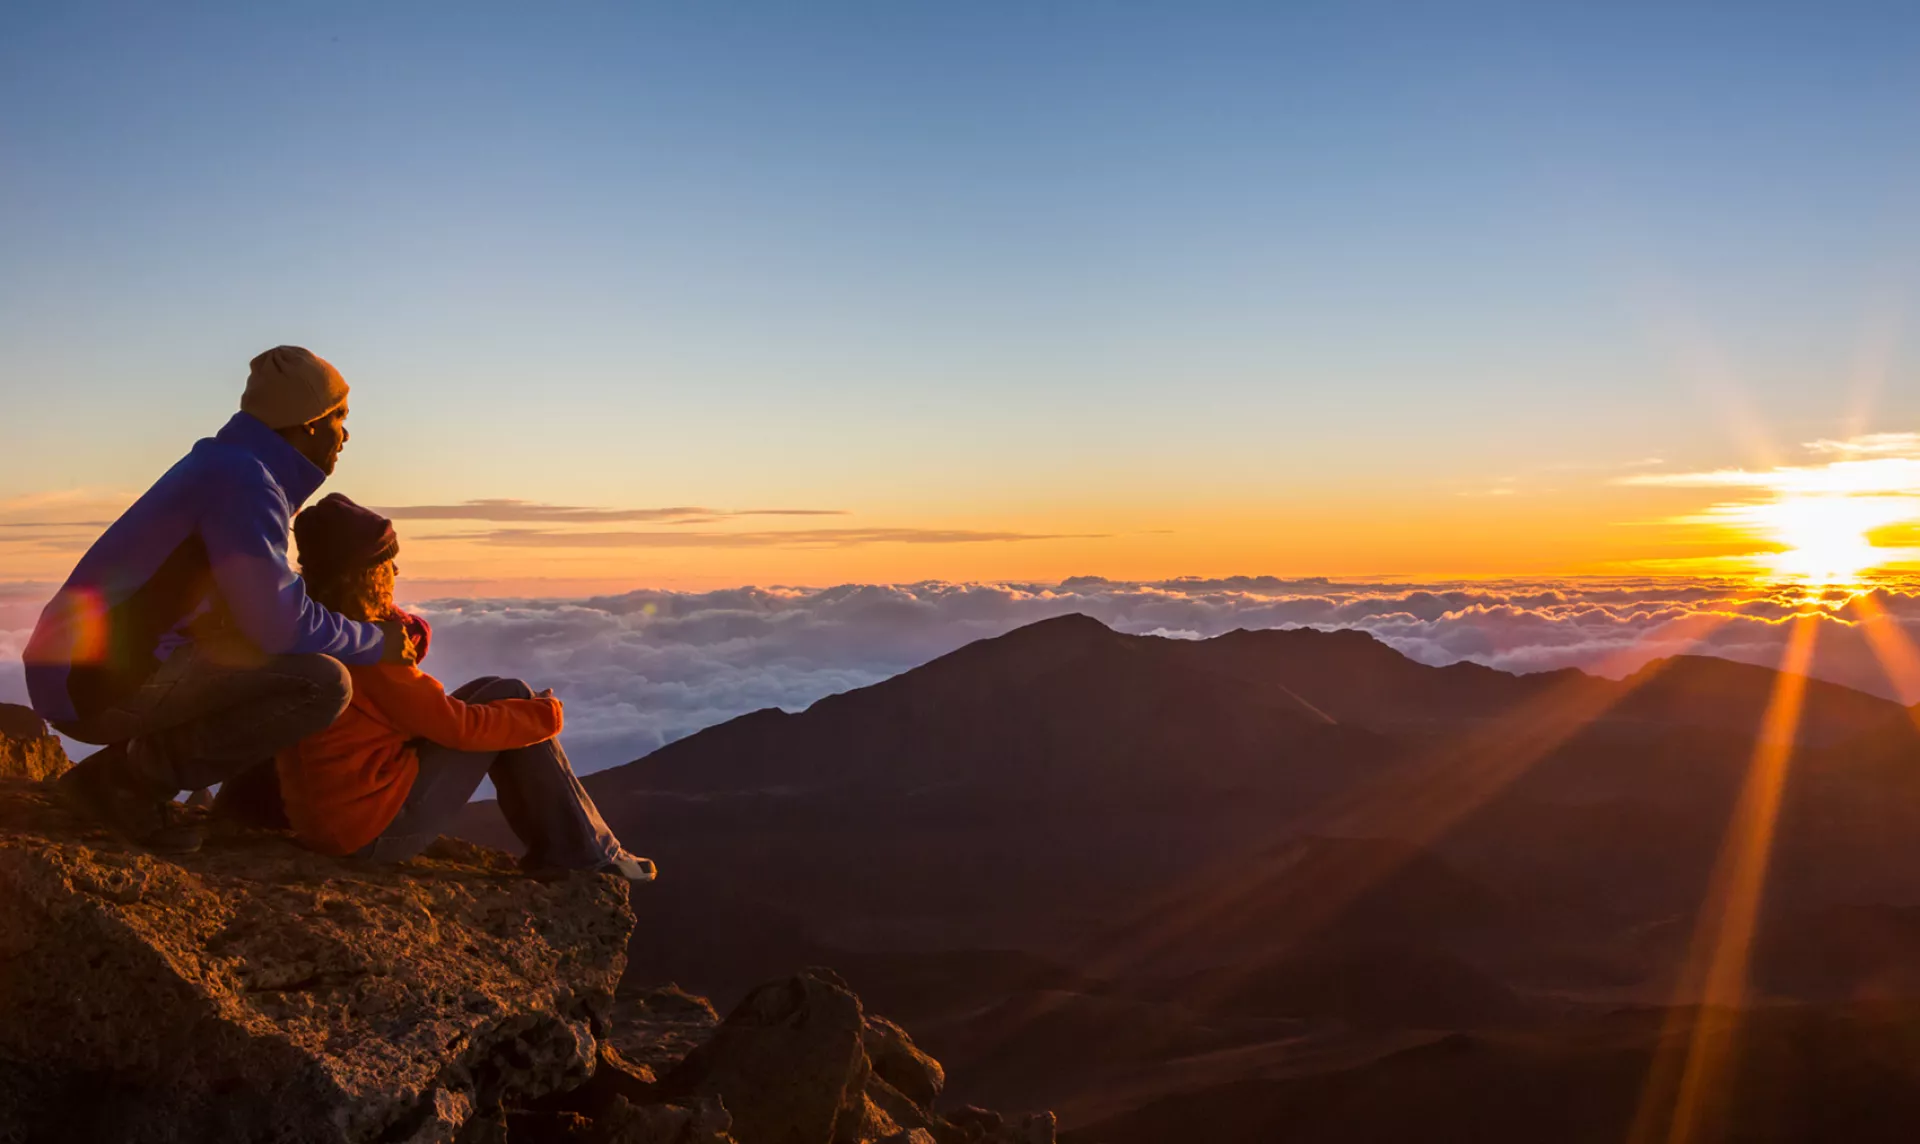
A good sunrise photo shoot is planned the day before. You need four things settled: the exact twilight and sunrise times for your location, the direction the sun will rise, a cloud forecast that suggests color is possible, and a route that gets you in position at least 30 to 45 minutes before sunrise. The best color often appears well before the sun clears the horizon.
Use this checklist as a routine. After a few early mornings it becomes second nature.
The night before
1. Get the full timeline, not just sunrise
Sunrise is the end of the show as much as the start. Look up all the twilight stages for your spot. Here is a real example for New York City on October 24, 2026 (EDT):
| Event | Time |
|---|---|
| Astronomical twilight begins | 5:45 AM |
| Nautical twilight begins | 6:17 AM |
| Civil twilight and blue hour begin | 6:49 AM |
| Golden hour begins | 7:00 AM |
| Sunrise (azimuth 105°) | 7:17 AM |
| Golden hour ends | 7:55 AM |
For a shoot like this, plan to be set up by about 6:30 AM, during nautical twilight. Pre-dawn color in the clouds usually peaks between the start of civil twilight and sunrise. Find these times for your location on our city pages, such as sunrise and sunset in New York City, or enter coordinates in the sunrise calculator. If the terms are new, our guide to civil, nautical and astronomical twilight explains them.
2. Check the sunrise direction
The sun only rises close to due east around the equinoxes. In the example above it rises at 105 degrees, south of east. In midsummer in New York it rises around 58 degrees, well north of east; in midwinter around 121 degrees. That shift can move the sun from behind a bridge to behind a building. Our explainer on sunrise and sunset azimuth covers how to work with it.
Line up your composition on a map. Draw a line from your planned standing point along the sunrise azimuth and see what sits on it. Remember that the sun moves to the right (south) as it climbs in the Northern Hemisphere, and to the left (north) in the Southern Hemisphere.
3. Read the cloud forecast carefully
- High and mid-level cloud with a clear eastern horizon is the classic recipe for vivid color. The sun lights the cloud from below before it rises.
- Low cloud or fog on the eastern horizon blocks that light. You may get no color at all, even if the sky overhead looks promising.
- Completely clear skies give a clean gradient and crisp first light, which suits silhouettes and mountains catching alpenglow.
- Fog in valleys can be spectacular if you can get above it.
Check humidity and wind too. Calm conditions give reflections on lakes and harbors; a breeze can clear haze.
4. Check the moon
A setting full moon in the west at dawn can add a second subject, and a bright moon affects how dark the sky is during astronomical twilight. Check the moon on your city's moon page, such as the New York City moon page, or the 2026 moon phase calendar.
Packing list
- Camera, lenses and fully charged batteries (cold drains them faster)
- Tripod and remote release or self-timer
- Filters: graduated ND and a polarizer if you use them
- Headlamp with a red-light mode to protect night vision
- Warm layers, gloves and a hat, even in summer at elevation
- Microfiber cloth for dew and spray
- Water and something to eat
- Phone with offline maps and your planned azimuth noted
Getting there
5. Work backward from your setup time
Add travel time, parking and walking time, and a buffer. A 20-minute walk to a viewpoint in daylight can take 30 in the dark. If you are hiking to a summit for sunrise, use realistic pace estimates and leave margin for stops.
6. Scout in daylight if you can
Visit the location the afternoon before. Note obstacles on the eastern horizon, safe footing near cliffs or water, and the exact spot for your tripod. A hill or tree line to the east can delay the moment the sun actually appears by many minutes compared with the published sunrise, which assumes a flat horizon.
7. Tell someone your plan
Dark starts in remote places carry real risk. Share your route and expected return time, check tide tables on coastal shoots, and carry a phone.
On location
8. Shoot through the whole sequence
Start with long exposures during nautical twilight, when the sky has a deep blue cast. Move into blue hour as civil twilight begins, then watch for clouds lighting up pink and orange. As the sun breaks the horizon, switch to faster shutter speeds and watch for sunstars by stopping down to f/11 or f/16.
9. Expose for the brightest part of the sky
Dynamic range peaks right at sunrise. Bracket three to five frames and blend later if needed.
10. Do not leave at sunrise
Morning golden hour runs for some time after the sun is up. Side light on landscapes, buildings and people often improves for 20 to 40 minutes after sunrise. For more on using it, read our golden hour landscape tips.
Never look at the sun through your viewfinder or binoculars once it has risen. Use live view on the rear screen instead. Our article on whether it is safe to look at the sunrise explains why.
Frequently asked questions
How early should I arrive for a sunrise shoot?
Aim to be set up 30 to 45 minutes before sunrise, around the start of civil twilight or earlier. The most colorful skies often come before the sun appears.
What is the best weather for sunrise color?
Broken high or mid-level cloud with a clear gap on the eastern horizon. Low cloud on the horizon blocks the light, and a cloudless sky gives a simpler gradient.
Do sunrise times account for hills and mountains?
No. Published times assume a flat, unobstructed horizon at sea level. Terrain to the east delays the visible sunrise, so scout or check elevation profiles in advance.