Golden Hour Landscape Photography: 12 Practical Tips
Warm, low light can turn an ordinary hillside into a photograph worth printing. These are the habits that get you in position and help you make the most of a short window.
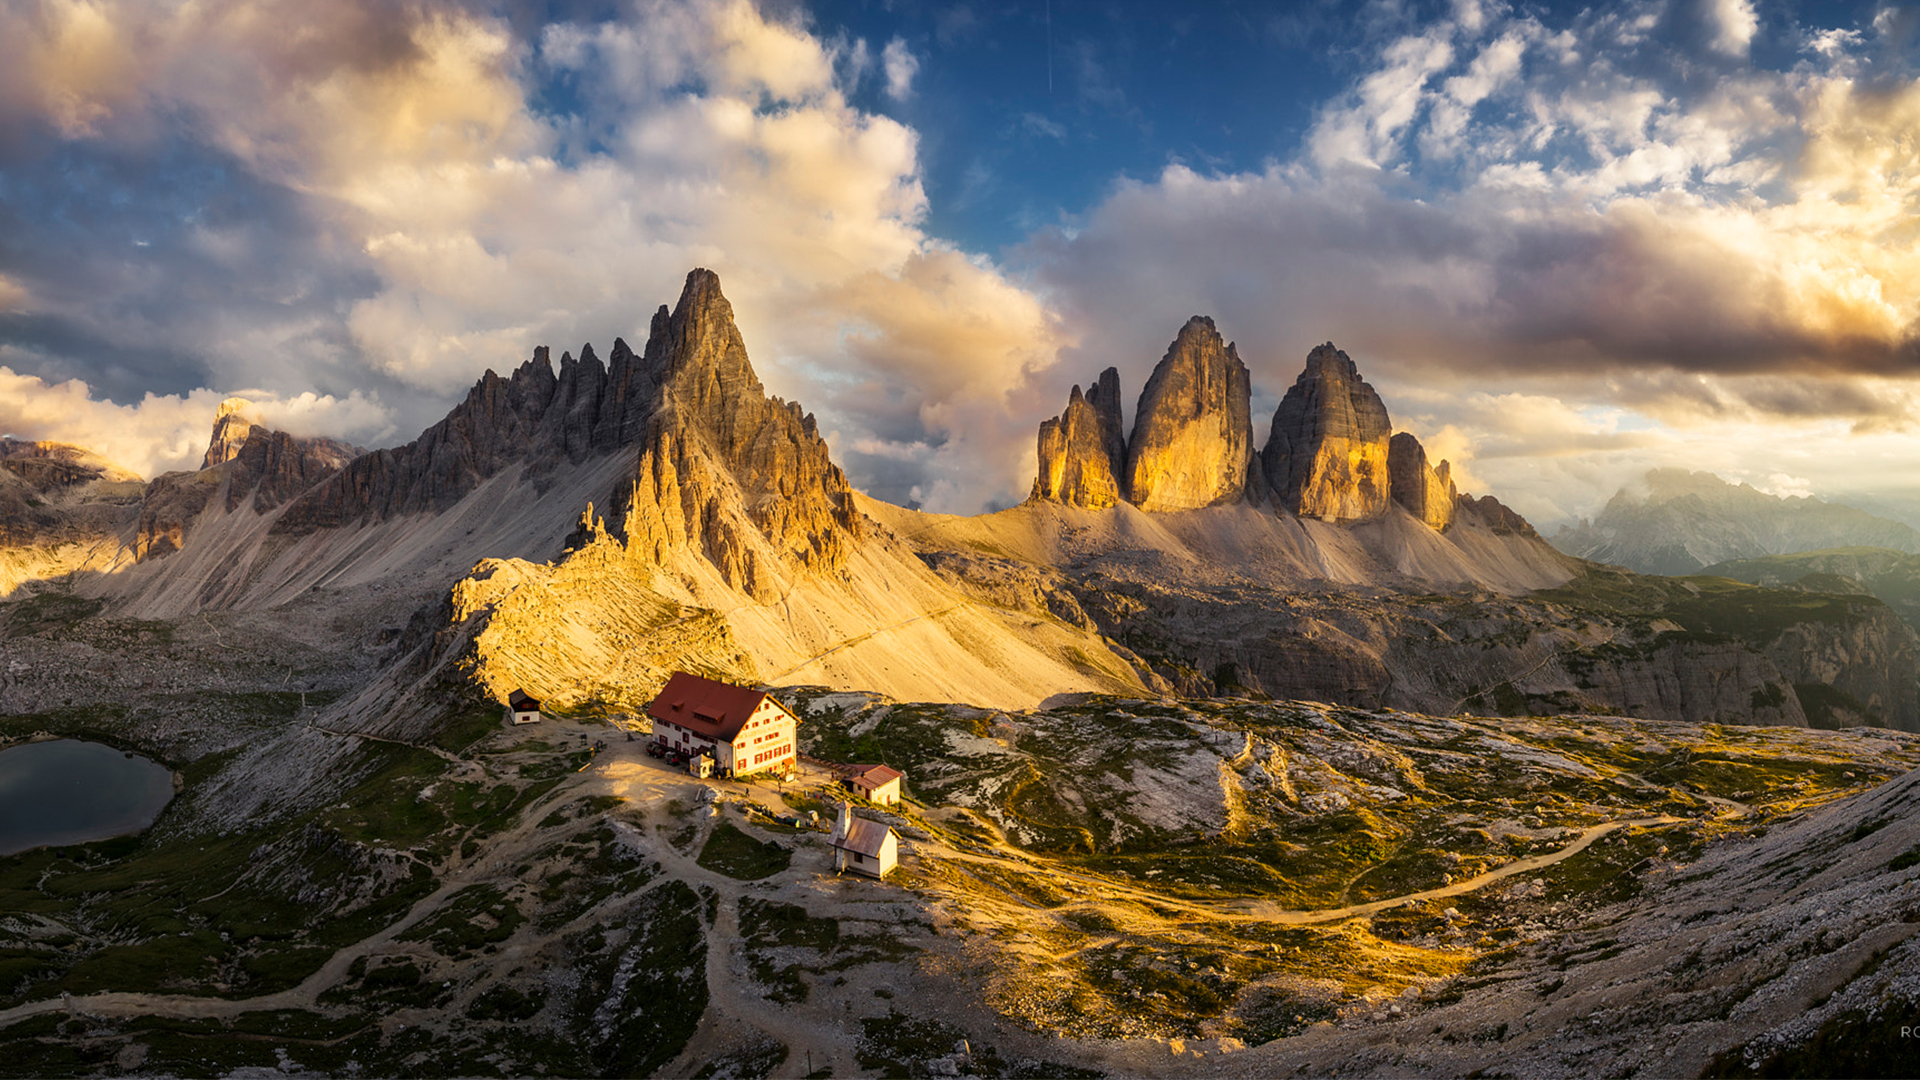
Golden hour landscape photography comes down to three things: being in the right place before the light arrives, choosing your angle to the sun deliberately, and controlling exposure so the warm highlights and deep shadows both hold detail. The window is short, often 45 to 90 minutes depending on where you live and the season, so preparation does most of the work.
The tips below assume you know what golden hour is and when it happens. If not, start there, then come back.
Before you leave home
1. Look up the exact window, not just sunset
Golden hour runs from when the sun is 6 degrees above the horizon to 4 degrees below. In the evening, most of it happens before sunset. In Seattle on June 21, 2026, for example, evening golden hour starts at 8:22 PM and sunset is at 9:10 PM PDT. Turn up at sunset and you have lost 48 minutes of the best light. Check your location's golden hour times or use the calculator for any spot.
2. Know where the sun will be
The sun does not rise and set due east and west for most of the year. In London it sets at an azimuth of 311 degrees (northwest) on June 21 and 232 degrees (southwest) on December 21. That changes which faces of a valley, cliff or building are lit. Our guide to sunrise and sunset direction explains how to use azimuth.
3. Check the horizon, not just the forecast
A clear sky overhead is no help if a bank of cloud sits on the western horizon at sunset. Satellite imagery and cloud-height forecasts tell you more than a simple sunny icon. Some of the best evenings come with high, broken cloud and a clear gap where the sun goes down.
In the field
4. Arrive 30 minutes early
Use the time to walk around, find foreground interest and set up your tripod. Composing in a rush while the light peaks is how good scenes get wasted.
5. Use side light for texture
With the sun at 90 degrees to your camera, every ridge, rock, furrow and blade of grass throws a shadow. That is what gives a landscape depth. Farmland, dunes, mountain ridges and old stone walls respond especially well.
6. Try backlight for glow and atmosphere
Shooting toward the sun makes grasses, leaves and mist glow from within. Keep the sun just out of frame or partly hidden behind a tree or rock to control flare. A lens hood and clean front element help a lot.
7. Turn around
The most interesting light is often behind you. At sunset, mountains to the east can catch pink and orange alpenglow while the western sky is just bright. Check both directions every few minutes.
Camera settings that work
8. Expose for the highlights
Warm skies clip easily. Watch the histogram and keep the brightest parts of the sky just short of the right edge. Shadows can usually be lifted in editing; blown highlights cannot be recovered.
9. Fix your white balance
Auto white balance tends to cool golden light back toward neutral. Set daylight (around 5,200 to 5,500 K) or cloudy (around 6,000 K) to keep the warmth you are seeing. Raw files let you adjust later, but a sensible starting point makes reviewing on location easier.
10. Use filters sparingly but deliberately
- Graduated neutral density filters darken a bright sky so it balances a darker foreground.
- Polarizers deepen blue sky and cut glare from water and foliage, but they work best at 90 degrees to the sun and do little when shooting into it.
- Solid ND filters let you stretch exposures to smooth water or blur moving clouds.
Exposure bracketing is a good alternative to grads when there are trees or mountains breaking the horizon.
Composition and patience
11. Build in foreground, middle ground and background
Low light makes depth easy to show. A lit rock in the foreground, a path or river leading through the middle, and a ridge or sky behind gives viewers a way into the picture. Wide lenses exaggerate this; telephoto lenses compress distant layers of hills into bands of tone, which can be just as effective.
12. Stay through blue hour
When golden hour ends, do not pack up. The first 10 to 20 minutes after it are blue hour, and clouds can light up long after the sun has gone. Many of the most vivid sunset skies appear 10 to 15 minutes after sunset.
Seasonal and latitude notes
Golden hour gets longer the farther you are from the equator, and longer in winter. On December 21, 2026, evening golden hour in Seattle runs from 3:27 PM to 4:42 PM PST, a comfortable 75 minutes. In Edinburgh on the same day it lasts 109 minutes, from 2:20 PM to 4:09 PM GMT. In the tropics you get closer to 45 minutes and have to work quickly. If you travel for landscapes, check the destination's city page in advance, for example golden hour in Dunedin or golden hour in Calgary for the Rockies.
Summer mornings at high latitude are a special case. In Edinburgh on June 21, morning golden hour starts at 3:50 AM. The light is beautiful, but plan your sleep.
When planning a dawn trip specifically, use our sunrise photo shoot checklist.
Frequently asked questions
What is the best focal length for golden hour landscapes?
There is no single best. Wide angles from 16 to 24mm show foreground and sky together, while 70 to 200mm lenses isolate lit ridges and compress layers of hills. Bring both if you can.
Should I use a tripod at golden hour?
For landscapes, yes. Light levels fall steadily and a tripod lets you keep ISO low, use small apertures for depth of field and bracket exposures that line up perfectly.
Is sunrise or sunset better for landscapes?
Both work. Sunrise often brings calm water, mist in valleys and fewer people. Sunset is easier to schedule and may offer more color in clouds. Choose based on which direction your subject faces.